Prior to this review, my only drone experience was with the miserable Estes Proto-X FPV Quadcopter which couldn’t be calibrated properly so it was a lethal aerial weapon that loved to crash shortly after takeoff. In fact, it was so bad I couldn’t get enough content to review it, but take it from me it was garbage so avoid it!
Honestly, the thought of having an expensive device in the air that has so many ways it can crash makes me nervous – very nervous. My biggest fear has always been that I would suffer a total loss on my first flight due to some mistake on my part. As a result, I’ve waited patiently for the technology to improve to the point of being idiot-proof.
I had a lot of friends tell me DJI products were basically the Apple of the drone world and that spending the extra money would result in a drone that was easy to fly. After watching the promo video, I was excited – very excited:
However, I also had a lot of questions – would it really be this easy?
Would I be one of the horror stories of someone who gets a new drone and crashes it right away?
My First Attempt

iPhone 6 with DJI app showing the slide to auto takeoff feature
After watching the videos and registering my quadcopter with the government via KnowBeforeYouFly.com, I was ready to go.
On my first attempt I was so blown away by the auto take off (see above) and landing features that I felt confident enough to do a fly over my roof. Things were going great, and I was amazed at how easy it was to fly the Phantom 4. The live preview on my iPhone 6 was impressive, but even more impressive was how well it would hold a position awaiting my next command.
With the drone hovering over my roof, I made the fatal mistake to try demonstrate to my son Taylor how the auto “return home” feature works. We both watched in horror as it landed on my roof and promptly crashed upside down. Fortunately this was a good thing as it kept it on the roof and minimized the chance of a must more significant crash.
Things seemed so promising until…
Lacking a ladder, I had to ask my neighbor for assistance so he got his ladder out and volunteered to be the one to go up to the roof for the rescue.
My fear had been realized! The crash was scary, but it was both a good lesson on what not to do and to the durability of the Phantom 4. The video kept rolling the whole time and my phone never lost contact with it. The rotors stopped immediately after the roll and the damage to the unit was only some cosmetic scuffs on top of the rotors.
Shaken from the incident, I decided to call it a day.
I take full responsibility for this crash as the directions clearly say to try it out in an open field, but I was being a typical guy and just trying it out with more confidence than I should have had at that point!
My Second Attempt
iPhone snapshot from my failed attempt thanks to a bad iPhone cable
With perfect weather and a perfect location at sunset, I was all excited to get a great video when sadly I discovered that my third party iPhone cable wouldn’t allow me to connect properly with the remote unit. The net result was a failed attempt so when I got home I tried using Apple’s iPhone lighting cables and it worked fine.
Lesson learned – stick with Apple’s cables to avoid heartache!
The Third Time Was A Charm
YouTube has compressed the 4k video too much, so the quality is actually much better offline
You must view the video full screen and check the video stats to see your actual playback resolution as shown here (via right click “stats for nerds”):
Bad video quality? Check the playback resolution
While I’m not going to win any academy awards for my video, it was a successful flight. I will be shooting more and practicing more over the coming months. The 4k looks incredible on my NEC PA332UHD 4k display, so I’m very excited about the possibilities. There’s also enough resolution for high 8 megapixel frame grabs too!
I was very pleased that I could switch between video and photos from my phone as well as an easily start/stop video recording. I can also report that a new video file is created transparently when the file reaches its maximum size and the stitched videos merge together flawlessly.
Things were going smoothly but I was pretty nervous, so when I tried to land the drone on the land the bridge while I was down in the creek, I was a little too close to the edge. I had a slight tumble (only one soft roll) and no damage was done as you can see here:

With a good flight under my belt, I’m looking forward to having many more in the future. Knowing that this isn’t a fragile toy that is going to break super easily also helps a lot too, but I would advise beginners like me to get the DJI Care policy just in case!
Real World Shots
As usual, these are 100% unedited and exactly as they came out out of the camera. The first shot is very different because it used all default settings and the remainder just had a landscape creative style and cloudy white balance to warm things up.
I was so focused on flying that I didn’t bother to experiment with the flexible camera settings so these are basically P mode default shots. I am extremely pleased with what I see, so I’m excited to see what I can get when I start manually fine tuning the camera settings.

f/2.8 for 1/50 sec at ISO 170
Default Creative Style & Auto White Balance
High point of view shots with its wide angle lens opens up exciting possibilities

f/2.8 for 1/50 sec at ISO 115
Landscape Creative Style / Cloudy White Balance
These images are in 4:3 format, but 16:9 is supported as well

f/2.8 for 1/50 sec at ISO 116
Landscape Creative Style / Cloudy White Balance
Look at the detail on the rocks – this is a decent lens and sensor!

f/2.8 for 1/50 sec at ISO 125
One of the great advantages for shots like this is that you can get a great POV from near water level and not have to get your feet wet!
More photos will be added as I take them to http://photos.ronmartblog.com/drones/dji/phantom4.
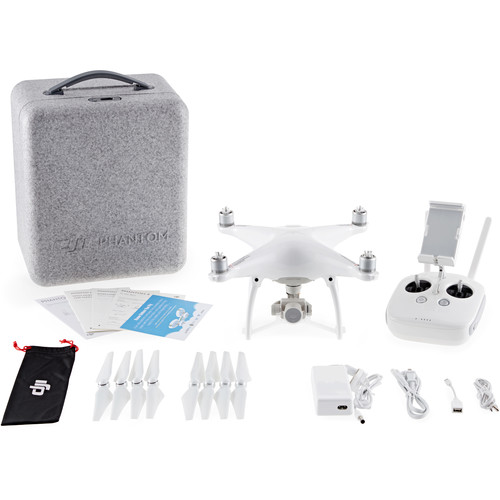
What’s Included

DJI Phantom 4 Quadcopter Drone
I did a very lame unboxing video which shows you pretty much what you see in the picture above, so you can skip it. Instead, your time is probably better spent looking at the full specs here, or checking out the many great tutorials here.
So what’s it really like?
I’m very impressed and excited to do a lot more with this quadcopter. It’s extremely well built and incredibly easy to use, despite the few boneheaded mistakes I made.
The iPhone app (shown above) is excellent, but I didn’t try Android version. It has all the controls I need and wanted – and more – with clear indicators when the unit was in danger or the battery was running low.
This device is built like something you’d expect to come from Apple. The rotors are easily put on and removed, yet they stay locked on very securely even with my two minor crashes.
The camera is outstanding for both photos and live 4k video, and the gimbal is extremely smooth. Thus far I have no complaints, but I will be putting it through my normal camera testing at a later date.
This device can hover in place very well so DJI offers ND filters, but it would take a windless day to get a really sharp shot with some of the longer stop filters.
Conclusion
This is just the beginning, so in the coming months as the weather in the Seattle area becomes more hospitable I’ll gain more practice. As I do, I will be posting additional videos and thoughts. Initially I am very happy with this product and have no buyers remorse whatsoever.
With great tutorials, excellent build quality, a fantastic remote control app and controller, excellent digital images, 4k video that rivals the Sony a6300, and support for numerous advanced features (covered later), I must say that I can easily give the Phantom 4 my highest recommendation. Assuming you don’t make a user error and fatally crash it, I would bet anyone who buys one of this is going to be very, very happy with their new quadcopter. I know I am!
Where to order
Click here to learn more or order at B&H or here at Amazon. I hope to have a special offer directly from from DJI in the near future, so check back later or contact me if you are ready to order now.
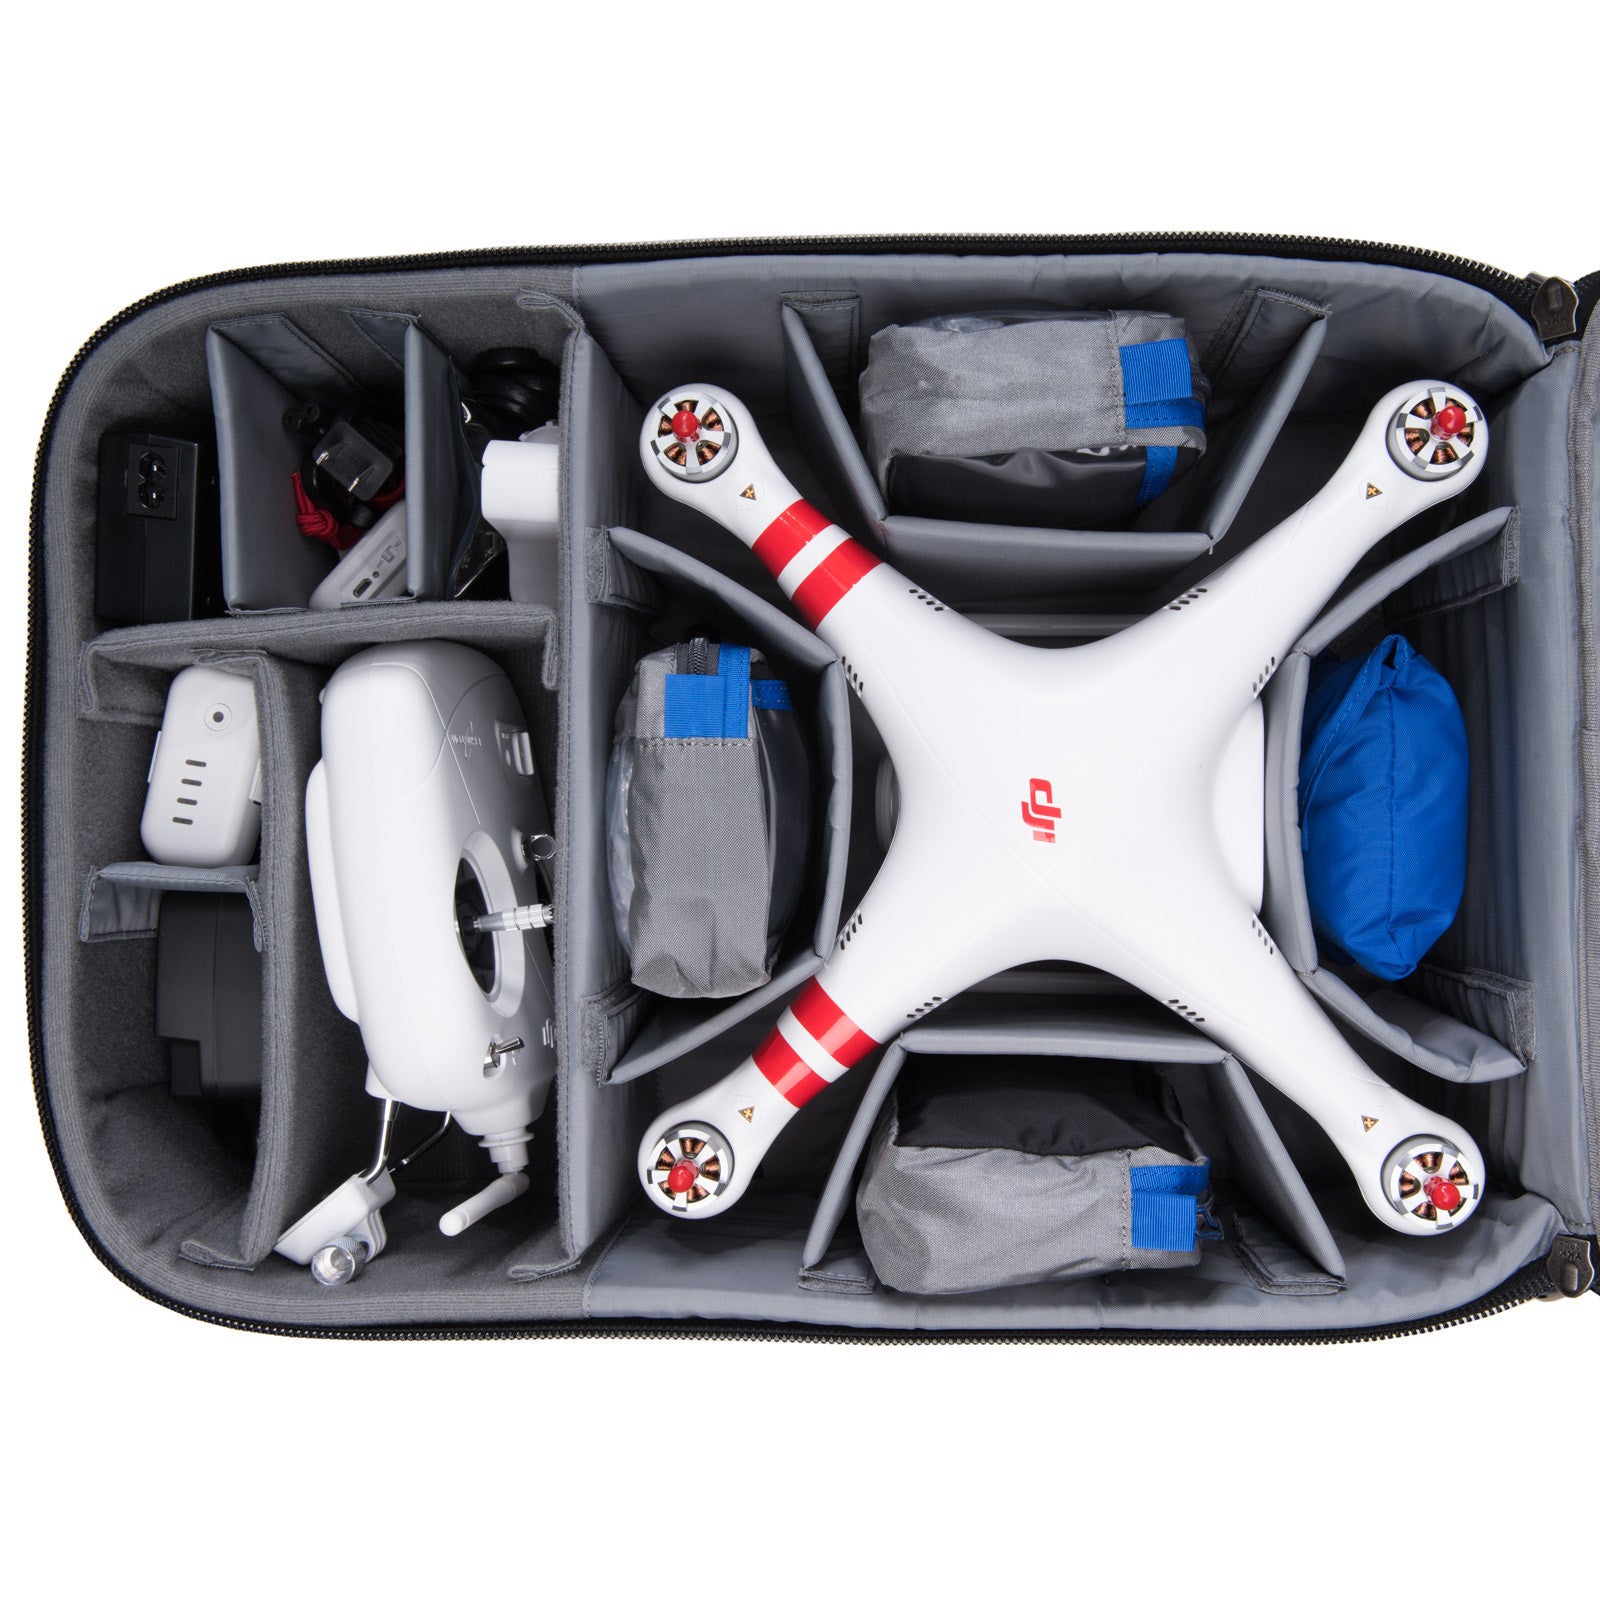
Need a Bag?

Think Tank Photo Airport HeliPak (Review)
I do, so I’ve decided to go with the brand that I trust the most for my gear – Think Tank Photo. I’ve used ThinkTankPhoto bags for years and have learned to trust them with my expensive gear as well as the stuff I review (which can’t be insured). As a result, I’ve ordered the Think Tank Photo Airport HeliPak for myself, so I’ll be sure to review it after it arrives.
Order using my links and you’ll also qualify for a special gift for orders over $50.
Memory Cards
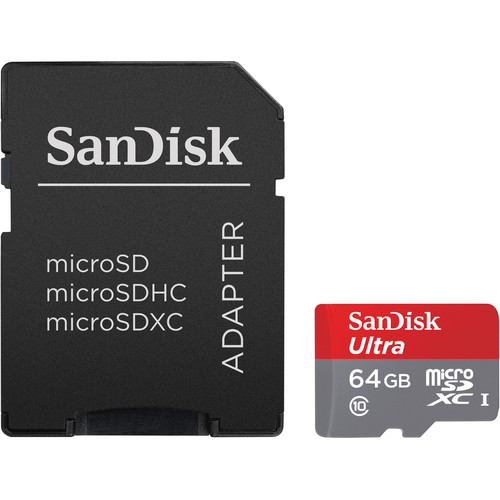
A micro sd card is included with the Phantom 4, but I wanted a larger capacity so here’s what I used:

SanDisk 64GB Ultra UHS-I microSDXC Memory Card (Class 10)
Make sure you only use micro SDXC I or better when recording 4k video!
Other articles you may enjoy
If you enjoyed this article, you may also enjoy these:
- ThinkTank Airport HeliPak Review & Special Offer
- NEC PA322UHD 4k for Pro Photo & Video Editing
- Panasonic DMC-G7 (Features 4k Video)
- Sony a6300
- Sony a7R Mark II with 24-70mm
- ioSafe 1515+ NAS (Powered by Synology)
- Leica Tabletop Tripod & Large Ball Head
- Ron’s Recommendations
- Discount Coupon Codes
Disclosure
If you make a purchase using links found in this article, I may make a commission. It doesn’t cost you a penny more, but it does help to support future articles like this.


2 comments:
nice
Thanks
Post a Comment