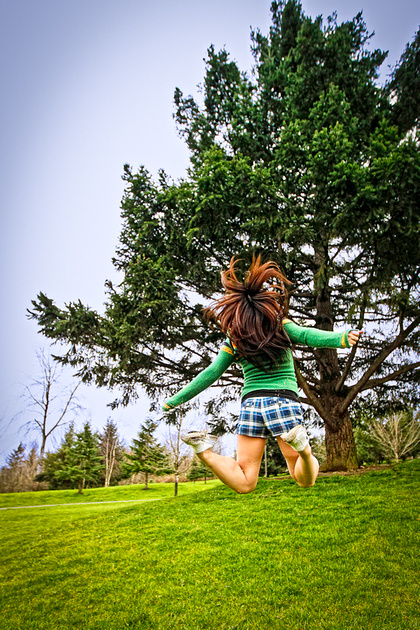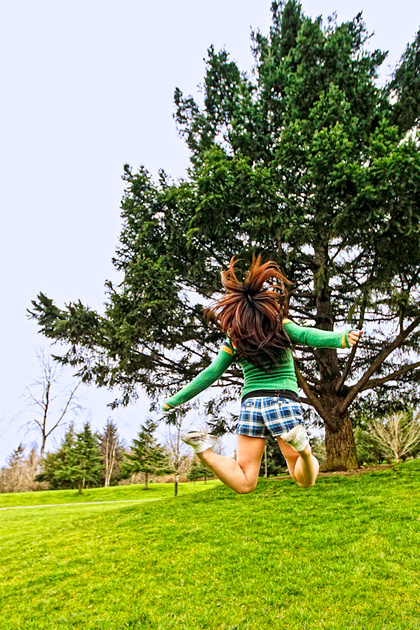
Jump!
Copyright © Ron Martinsen – All Rights Reserved
To see my camera settings for this shot, visit my Photography Notebook page for this image.
Step-by-Step
- I cropped the shot in Lightroom and then exported it to Photoshop CS5 on my MacBook Pro. I then used Portraiture to fix up the legs and then the healing brush on both the legs and the grass to remove debris from a wind storm. All this was done on the 2nd layer so I could undo later if I wanted to. After this I brought the file back to my PC where I’m comfortable and edited the rest in CS4.
- Next up I used Color Efex by Nik Software and its Sunshine filter to give it a little more sunny day oomph. The results were still a bit too strong so I used the Screen blending mode on the layer and set the opacity to 42% to cut down the effect.
- I was pretty happy with the shot except for the dull background so I used Viveza 2 to add blue to the sky. I chose Viveza so I could use a U-Point control to quickly add the blue without impacting the whole shot like the Photo Filter would do. Despite this there was a little bit of color contamination of the white areas of the shot (i.e. shoes, shorts, etc…) so rather than using a bunch of U-Point controls I just quickly did a sloppy mask in Photoshop on that layer.
- The tree was pretty black on the inner parts and the trunk was too dark so I just did a Shadows and Highlights adjustment on JUST the shadows using the advanced settings of 10, 25 and 36.
- In a rare instances for me, I accepted the default settings of the Tonal Contrast filter in Color Efex as I thought it looked perfect for this shot. I did set the saturation to 0 as I thought this already had enough color and didn’t need more.
- Lastly I did Scott Kelby’s Lab Color trick from the 7 Point System. At that point I was happy and thanks to the Tonal Contrast I didn’t need any more sharpening – imaging done.
Despite this shot being done at ISO 1000 I felt that the noise added more than it hurt so I didn’t bother using Noiseware on this one.
Total time spent editing: About 25 minutes.
Alternate Version

One thing I go back and forth on for this shot is the vignette I added in Lightroom. You can hover above to see the shot with and without. Despite what it does to the sky, I tend to prefer the one with the vignette to keep the viewers eye from drifting out of the frame. I suppose I could process it differently in the sky, but it just wasn’t worth it to me for this shot.


1 comment:
Maybe it is just me but the legs look somewhat flat and unnatural in both the original and the processed image. The edges of the legs, although they are natural, feel as if they were cut out from another picture and pasted in. And oddly enough it is just the legs that feel that way to me. The rest of the picture seems fine.
Post a Comment